Setup
Download the SDK
- Download and install the Android SDK from the official website.
- Either Android Studio or Eclipse (ADT) can be used. Eclipse (ADT) will be used in this example.
Create a virtual device (AVD)
Once downloaded and installed, an Android virtual device can be created. Instructions can be found here.
Creating our application
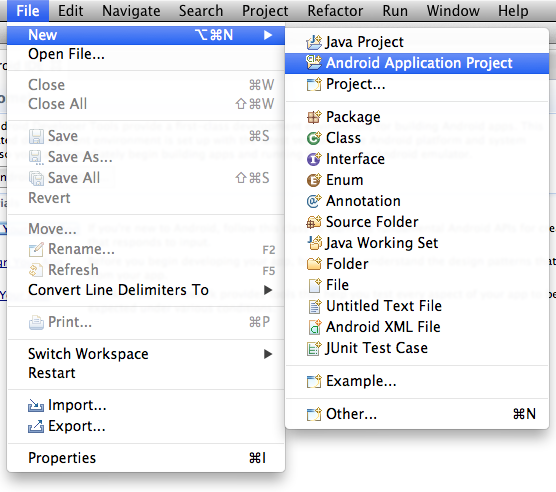
Next, we can start to create our project, like so.
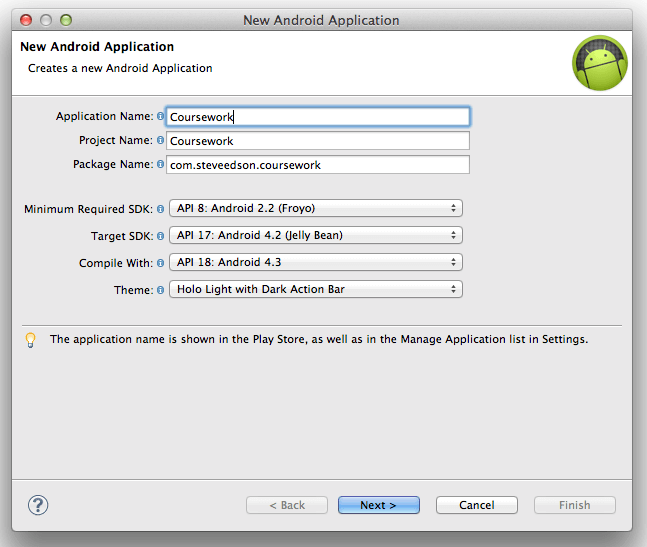
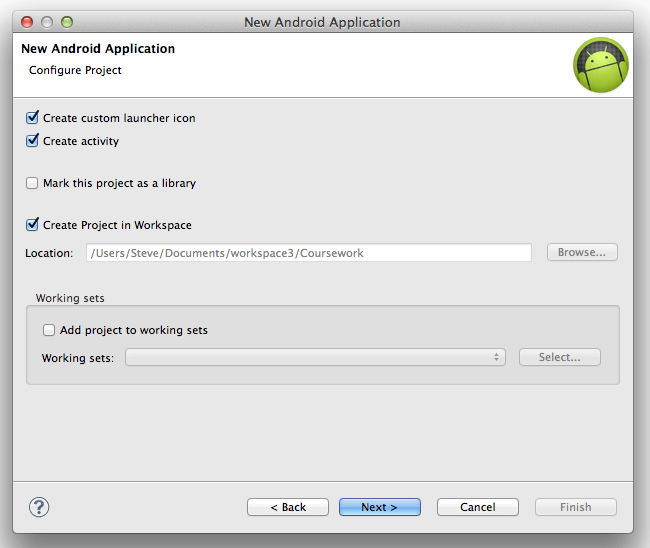
![]()
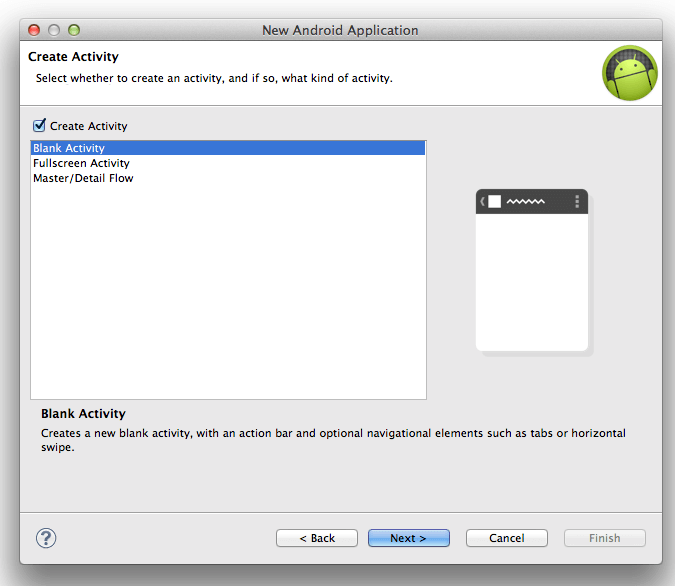
The app will have been created, close the android welcome tab to show the editor.
Directory structure
The following directory structure should have been created:
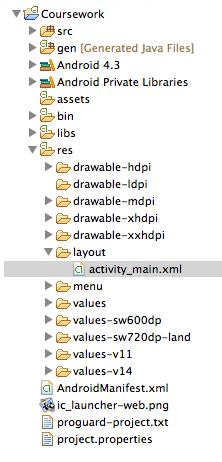
In this example, the main folders that will be used are src and res.
- The
srcfolder contains all the java code that powers the app. - The
resfolder contains assets, such as images (known as drawables), and layouts.- The
drawable-hdpietc folders are used to target different screen sizes, this is like using media queries.
- The
Add internet permission
To be able to connect to the internet, the internet permission is needed. In AndroidManifest.xml, add the following line:
<uses-permission android:name="android.permission.INTERNET"></uses-permission>The app will now be allowed to use the internet to retrieve data etc.
Add webview layout
In Android apps, layouts are defined in XML files. Think of these as being like HTML + CSS files, they define which views should be used and how they should appear.
Open the file, res/layout/activity_main.xml. This is the layout for our main activity, created earlier.
The webview can be added either using the GUI editor, or in XML. We will use XML in this example.
<RelativeLayout xmlns:android="http://schemas.android.com/apk/res/android"
    xmlns:tools="http://schemas.android.com/tools"
    android:layout_width="match_parent"
    android:layout_height="match_parent"
    tools:context=".MainActivity" >

    <WebView
        android:id="@+id/webView"
        android:layout_width="match_parent"
        android:layout_height="match_parent" />

</RelativeLayout>
Edit the file so it looks like the one above.
- The relative layout is the root view, think of this as being like the
<body>of a HTML page. layout_widthandlayout_heightcan take multiple values,match_parentmeans match the same size as the parent element, in this case, the same as the actual screensize.- Think of
xmlns:tools="http://schemas.android.com/tools"as being similar to a HTML Doctype, it just explains how the xml should be parsed. - The ID of the WebView is
webView, this is similar to setting an ID on a HTML element, it allows the view to be targetted later on.
Using the WebView
Now that the WebView has been added to the layout, we can interact with it. Open the MainActivity.java file within the src folder. It should look like this:
package com.steveedson.coursework;
import android.os.Bundle;
import android.app.Activity;
import android.view.Menu;
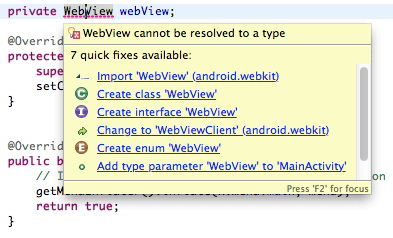
public class MainActivity extends Activity {
private WebView webView;
@Override
protected void onCreate(Bundle savedInstanceState) {
super.onCreate(savedInstanceState);
setContentView(R.layout.activity_main);
}
@Override
public boolean onCreateOptionsMenu(Menu menu) {
// Inflate the menu; this adds items to the action bar if it is present.
getMenuInflater().inflate(R.menu.main, menu);
return true;
}
}The onCreate method is called when the activity is first started, it is part of the Android Lifecycle.
Create the variable, webView, this will be assigned to the WebView object later.
Inside the onCreate method, add the line
webView = (WebView) findViewById(R.id.webView);findViewByIdis used to retrieved a view from our layout.R.id.{whatever}: TheRobject stores all the resources available in the app.- Finally, the
WebViewpartcaststhe layout as a webview. This is because thefindViewByIdmethod could return many different types of views, includingTextView,ListViewetc.
Next, set up the WebChromeClient and WebViewClient, these are used to control the UI, and the webview itself, respectively. These will be used later.
webView.setWebChromeClient(new WebChromeClient() {
    public void onProgressChanged(WebView view, int progress) {
        // Page is loading
    }
});

webView.setWebViewClient(new WebViewClient() {
    @Override
    public void onReceivedError(WebView view, int errorCode, String description, String url) {
        // Received error when loading page.
    }
});
We can display a loading bar in the app by enabling it in the onCreate method:
final Activity activity = this;
getWindow().requestFeature(Window.FEATURE_PROGRESS);
and updating it, as the page loads, inside the onProgressChanged() method:
activity.setProgress(progress * 1000);Enabling Javascript
While not normally recommended, we need to enable JavaScript on our webview, this can be done like so:
WebSettings settings = webView.getSettings();
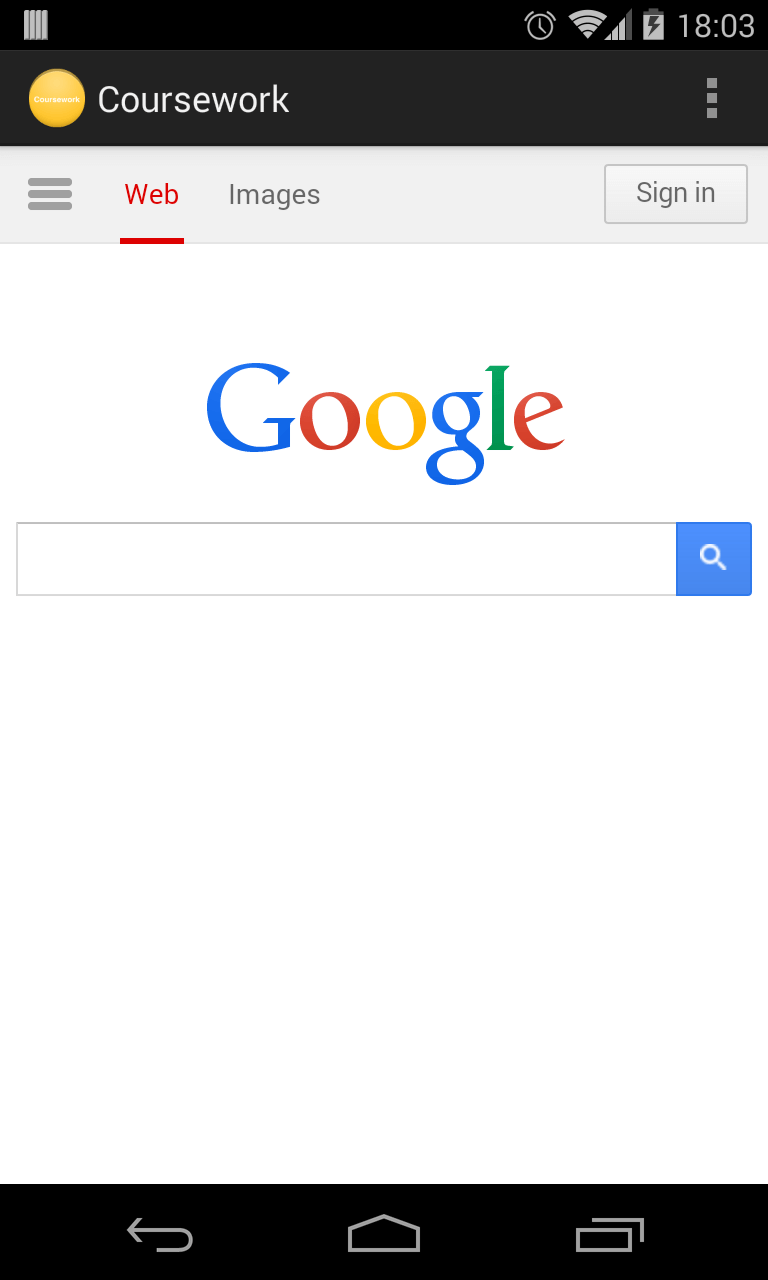
settings.setJavaScriptEnabled(true);Finally, tell the webview to load a URL, like so:
webView.loadUrl("http://google.com");Test the app in the emulator to make sure everything is ok.